THE NAIL EDIT
How to Remove Press-On Nails and Reuse Them: A Gentle, Practical Guide
Learn how to remove press-on nails based on your adhesive, avoid force, and clean and store reusable sets when the maker allows it.
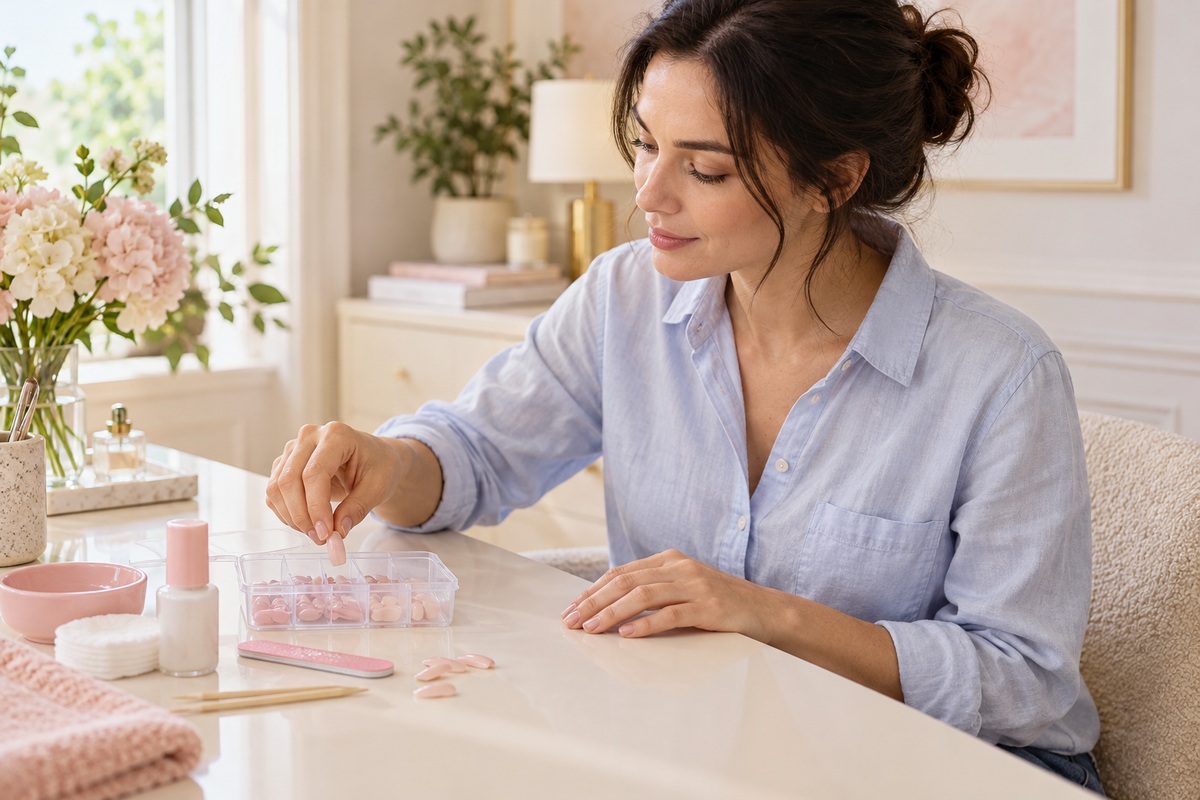
Taking off press-on nails deserves the same care as putting them on. A set may still look lovely when you are ready for a different style, but that does not mean the adhesive is ready to release. Pulling harder is not a removal method, and saving a decorative tip should never come before protecting your natural nail.
The right process depends on what attached the set: separate adhesive tabs, pre-applied adhesive, or bottled nail glue. Reuse depends on the nail’s design, condition, and manufacturer’s instructions as well. Start by identifying those details so you can choose a compatible remover and know whether preserving the set is realistic.
Begin with the adhesive, not a viral recipe
Find the packaging or your application notes. Check the exact adhesive name and its removal instructions. Two manicures that look identical may need different treatment underneath. A short-wear tab and a strong nail glue should not automatically be approached with the same soak, the same timing, or the same expectation of reuse.
If you used a separate adhesive rather than the one supplied, consult that product’s directions too. Your removal plan needs to suit the bond you actually created. A tutorial for a different brand can provide context, but it should not override the instructions for the products on your hands.
Set up before you start loosening anything
Choose a stable surface and gather the specified remover, an appropriate bowl if the method calls for one, a towel, and any recommended manicure tool. Protect the surface from spills. Keep the original instructions close enough to consult without touching your phone repeatedly with wet or product-covered fingers.
Allow enough time that you do not have to rush to leave the house. Removal can take longer than expected, particularly if the set is recently applied. If a product gives a waiting period, let it work rather than testing the edge every few seconds. Plan around the process instead of trying to fit it into a tiny gap.
Know what gentle removal should feel like
The decorative nail should release because the adhesive has loosened. It should not require bending your natural nail, pulling against attached skin, or forcing a tool beneath a firmly bonded edge. If you meet resistance, stop and repeat the recommended softening step rather than increasing the pressure.
A loose corner does not tell you how much of the rest remains attached. Work with the actual release you can observe. Do not turn one lifted edge into a handle for peeling away the entire tip. Your goal is to separate the bond while keeping the natural nail underneath comfortable.
Removing separate adhesive tabs
Follow the tab manufacturer’s removal sequence. Some systems direct you to use oil or a compatible remover at the edge; others specify a particular soaking approach. Apply the product only as directed and give it the recommended time. The fact that tabs are intended for shorter wear does not mean they should be torn off dry.
If the instructions include a manicure stick, use it gently and only where the adhesive has released enough to allow it. Avoid digging underneath attached areas. A tip that has not loosened needs more of the approved process, not a sharper tool. Work through the fingers patiently rather than trying to remove them all at the same speed.
After removal, deal with remaining tab material according to the directions. Keep debris away from your next set, and inspect both the natural nail and the underside of the tip. Whether the artificial nail can be reused is a separate question from whether its old adhesive can be used again.
Removing pre-glued press-ons
Pre-glued sets can look like other press-ons, but their adhesive and reuse instructions may differ. Check the product name rather than guessing from the design. Do not add a new layer of bottled glue to a pre-glued tip simply because the original adhesive no longer feels sticky after removal.
Follow the brand’s instructions for that specific system, including the recommended remover and handling. If the set is intended for one application, treat it that way. A nail that survived removal physically is not automatically approved for another wear cycle, especially if the original adhesive cannot be cleaned off as directed.
Removing nails attached with bottled glue
Use a removal product or method compatible with your nail glue. Some systems specify a dedicated remover; others permit an acetone-based process. Follow the product’s directions for contact time, ventilation, and use. Read any warnings before beginning, and keep acetone and other flammable removers away from flames and heat sources.
A remover that works on the glue may also damage the artificial nail’s material or finish. If keeping the set matters to you, check that compatibility in advance. Do not assume an acetone-free label guarantees preservation either. The formula, tip material, and decoration all affect whether the finished nail remains usable.
Apply remover as instructed and wait for the adhesive to loosen. If the instructions call for repeat applications, repeat them patiently. Do not scrape aggressively to speed things up. If you cannot remove the set comfortably using the approved process, seek help rather than escalating to sharp tools or force.
What about warm water and oil?
Some manufacturers describe a warm-water method for their own press-ons. That does not establish warm water as a universal way to dissolve every nail glue. Treat a soak as product-specific guidance, and use comfortably warm water rather than very hot water if the instructions allow that approach.
If your set remains firmly attached, the next step is to review the adhesive’s approved removal method. Adding random household ingredients or making the water hotter does not resolve a compatibility problem. Do not microwave solvent, heat acetone, or place flammable remover near a candle to create a beauty-routine atmosphere.
Why flossing and prying are poor shortcuts
Dental floss, cards, and metal implements can pull or lever the tip away before the adhesive has released. That is a mechanical shortcut rather than an adhesive removal process. A quick-looking video may not show what happened to the underlying nail, and the appearance of an intact artificial tip tells you little about that.
Avoid using another press-on nail as a wedge too. Even a familiar manicure stick should not become a lever under a firmly attached tip. The tool is there to help with material that has loosened according to the instructions, not to overpower a bond that is still holding.
Inspect your natural nails before the next set
Once the tips are off, look at each natural nail in good light. Check for tenderness, unusual color, peeling, or separation. Do not immediately hide a change under another decorative set. The American Academy of Dermatology advises against using artificial nails to cover nail problems because doing so may worsen them.
If a nail is painful or visibly abnormal, leave it uncovered and get appropriate advice. You do not have to diagnose it yourself to decide that another layer of adhesive is unhelpful. A comfortable bare nail is a better next step than forcing a new manicure onto a surface that needs attention.
Remove residue without chasing a perfect surface
Use the recommended residue-removal method and keep the process gentle. Do not file your natural nail until it looks completely uniform if doing so would remove healthy nail along with the adhesive. A stubborn patch is a reason to consult the directions or seek assistance, not to keep sanding.
Wash as directed after using the remover and dry your hands carefully. Apply a suitable hand moisturizer or cuticle oil once the removal process is complete, unless you are following another product-specific step. If you plan a later application, its preparation instructions will determine how to clean the bonding surface again.
Decide whether each artificial nail is reusable
Start with the manufacturer’s reuse claim. If the set is not intended to be reused, do not invent a cleaning method to change that. If reuse is supported, inspect each tip for cracks, distortion, damaged decoration, and old adhesive that cannot be removed using the approved approach.
A usable tip needs more than a pretty top surface. Its underside must be cleanable and its shape must still fit comfortably. Discard a tip that is damaged, persistently dirty, or questionable. Keeping nine good nails does not justify wearing one compromised nail merely to complete the set.
Clean and store reusable tips deliberately
Follow the maker’s cleaning directions for the actual material and finish. Avoid soaking decorative nails in alcohol or solvent unless compatibility is confirmed. A household wipe or a quick rinse should not be treated as proof that a tip is ready for reuse. Do not share used sets between people.
Let cleaned tips dry completely before storage. Arrange them by finger in a clean, labeled container, and keep the size notes with the set. Store adhesive and remover separately according to their labels. A prepared set should be easy to identify next time without relying on a photograph of how the manicure looked.
Make removal part of your next manicure plan
For a one-evening look, an approved tab system may be more practical than applying a long-wear glue and trying to remove it hours later. For a longer-wear set, have the matching remover ready before application. Choosing the complete wear-and-removal process makes changing styles much easier to manage.
Explore the Bunny Ruffle Tail nail collection below when you are ready for your next look. Start with our application guide, use the fit guide to choose comfortable sizes, and read the longer-wear article for practical daily habits. Pretty nails are most enjoyable when the change from one set to the next feels manageable too.