THE NAIL EDIT
How to Apply Press-On Nails at Home: A Beginner’s Guide
Learn how to apply press-on nails at home, choose sizes, prepare your nails, and use nail glue or adhesive tabs with confidence.
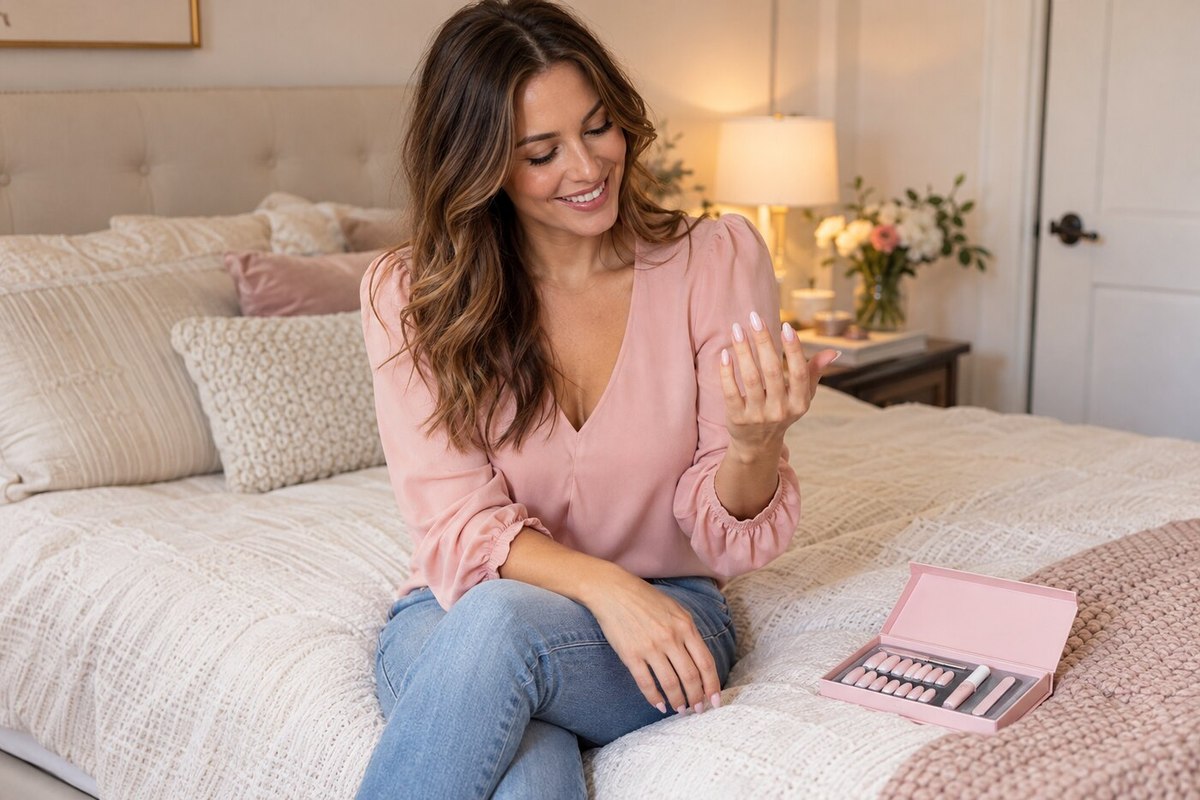
Pretty press-on nails start before the glue bottle opens. The little decisions you make first—choosing the right width, checking the curve, and giving yourself enough room to work—shape how the finished manicure looks and feels. You do not need a salon-sized collection of tools, but you do need a clear plan.
This guide walks you through a simple home application, from opening the box to checking your finished set. Use the directions supplied with your particular nails and adhesive whenever they differ from general advice. A glue-on set, a set with separate adhesive tabs, and a pre-glued set can have different preparation and removal requirements.
Start with the manicure you actually want to wear
Before choosing a design, picture tomorrow morning. Will you be typing, fastening jewelry, washing your hair, or working with your hands? A length you admire in a photo may feel different when you are opening your makeup bag. If this is your first set, a shorter style gives you room to learn those movements.
Shape matters too. Round, oval, almond, square, and coffin describe the outline, while short, medium, and long describe length. Those labels are not standardized across every brand. Look at measurements when available, and remember that the same tip can look longer on a shorter nail bed.
Choose your adhesive before beginning. If you only want nails for an evening, check whether the set supports removable tabs. If you want longer wear, use a nail adhesive the manufacturer recommends. Read the removal directions now, while your hands are bare and opening a bottle is easy.
Set up a small, comfortable workspace
A stable table and good lighting make application less awkward. Protect the surface, pull back loose sleeves, and place everything within reach. Open packages and loosen appropriate caps before starting, following the adhesive’s storage and handling directions. Keep nail glue away from children and pets, and avoid working on your lap.
Your basic setup can include the nails, their instructions, an appropriate adhesive, a fine file, a manicure stick, and the recommended preparation wipe. Have the compatible remover available too. You do not need an electric drill for a first application, and a large collection of extra products can make the process harder to follow.
Create two rows of five tips: one for the left hand and one for the right. Put the thumbs at the same end of each row. This simple arrangement prevents the familiar moment when you have glue ready but cannot remember which tiny nail belongs on your ring finger.
Size every finger separately
Hold each tip over the natural nail without adhesive. Look straight down, then turn your finger to inspect both sides. The tip should cover the nail comfortably without resting on surrounding skin. Do not choose a narrow tip merely because you can press it down hard enough to make it reach.
Check your other hand independently. Matching fingers do not necessarily take matching sizes, and a number printed underneath is only a reference within that particular set. Record your choices after checking all ten fingers. A quick phone note can save time next time, but recheck whenever you change brands or styles.
Width is only part of the fit. A tip may cover both sides yet rock because its curve differs from yours. Another may feel tight even though the width seems right. A comfortable fit should not require force. If the available tips cannot sit properly, a different shape or size range is a better starting point.
Make small fit adjustments before adding adhesive
Some manufacturers allow gentle filing of a detached tip’s edges. If yours does, adjust a slightly larger option in small passes, checking the fit between passes. Keep the base rounded to follow your nail’s outline, and preserve enough material at the sides for coverage. Stop before the shape becomes uneven.
Do all ten fitting checks before moving to application. It is easier to compare widths and outlines when the tips are loose. If the set has French tips, raised decorations, or edge detailing, decide whether filing would spoil the design. Choosing a better-fitting style may be preferable to heavily modifying the one you have.
Keep your natural nails comfortable too. Follow your set’s directions about trimming the free edge. You should not need to reshape your natural nail bed to match a decorative tip. The artificial nail is the part being fitted; your own nail should not be forced into an uncomfortable shape.
Prepare without turning it into a sanding project
Remove previous polish or adhesive using the appropriate method, then wash and thoroughly dry your hands. Inspect your nails before covering them. Skip application over a painful, damaged, or visibly abnormal nail. Covering a problem makes it harder to monitor and can make an existing nail issue worse.
Handle the skin around your nails gently. Do not cut it simply to create more space for the tip. If your kit recommends a manicure stick, use it carefully and stop if anything hurts. An immaculate-looking cuticle line is not worth scraped skin, and the tip should sit on the nail rather than over living tissue.
Follow the adhesive instructions for surface preparation. Some systems include a cleansing pad; some recommend minimal buffing. Do not assume aggressive roughening improves every set. Avoid improvising with layers of primer, dehydrator, base coat, or other products unless the system specifically calls for them.
Do one dry rehearsal
Before adhesive touches either surface, practice holding the first tip in place. Notice which end belongs near the cuticle and where the center line should point. Your finger may turn slightly when you bend it, so check alignment with the hand resting naturally rather than twisted toward your face.
Try picking up a small tip with your less comfortable hand. If that feels awkward, slow down and adjust your workspace. Resting your forearm on the table can help you keep a steadier grip. A rehearsal costs very little time and prevents you from discovering handling problems while adhesive is already setting.
Apply glue according to its own directions
For a glue-on set, use the amount and placement specified by the adhesive maker. There is no universal drop count: nail width, glue consistency, and applicator design differ. Keep the adhesive on the intended nail surfaces and away from surrounding skin. More product is not automatically a better application.
Place the tip carefully, keeping it clear of the skin at the base. Check that it points straight along the finger before the adhesive sets. Hold it with the pressure and for the duration your product specifies. Avoid rocking it repeatedly or lifting it to see whether the bond has formed.
Continue one finger at a time. Many people prefer to leave thumbs until later because bare thumbs make small items easier to handle. You can also begin with whichever hand is harder for you to do. Choose an order that feels manageable, then keep the selected tips organized as you work.
Use adhesive tabs as a complete system
For separate tabs, select an appropriate size and follow the maker’s placement instructions. Keep the adhesive within the natural nail’s boundaries rather than hanging over skin. Remove the protective film when directed, position the tip, and apply the specified pressure. Avoid touching the exposed adhesive while handling it.
Pre-glued nails have their own process, so check which layer or film needs removal. Do not assume adding bottled glue improves them. Combining systems changes both the attachment and the removal process. If you want a different kind of wear, choose a set intended for that adhesive instead of experimenting during your first manicure.
Check comfort and finish with restraint
Once the set is applied, look at both hands from above and from the fingertips. Check for obvious crooked placement, contact with skin, or a tip that feels tight. A comfortable manicure should not throb. If something hurts, follow the removal instructions rather than waiting for your finger to adapt.
If the maker permits final filing, use light strokes to smooth the free edge. Avoid aggressive reshaping while the attachment is still settling. Keep decorative surfaces intact unless the product is designed for further finishing. A ready-made shine does not automatically need another layer of top coat or a lamp.
Plan the first hour around the instructions
Read the product’s specific advice about water and other activities after application. Do not schedule your first attempt immediately before doing dishes or rushing into a shower. Leave yourself a quiet interval to finish, put supplies away, and make sure you are comfortable handling everyday objects.
Take a quick photo of the finished set and save your size notes. Record the adhesive used and anything you would change next time. Perhaps your index finger needs a different width, or a shorter thumb would feel better. Those observations are more useful than buying several new products after one imperfect attempt.
Your next pretty set starts with a good fit
A first press-on manicure is a chance to learn your hands: their sizes, curves, and comfortable lengths. Start with the instructions, keep the process orderly, and give each step enough attention. You can choose soft pink, a classic French tip, or a statement design once the practical pieces feel familiar.
Explore the Bunny Ruffle Tail nail collection below to find a look you love, then keep learning with our guides to longer wear, sizing and shaping hacks, and gentle removal. A little preparation gives you a much better starting point for making the finished manicure your own.